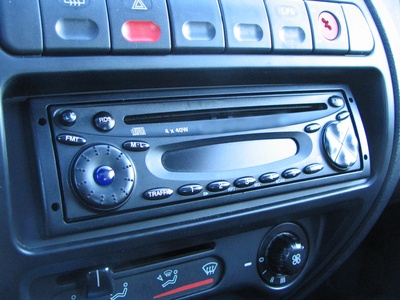
Since 1994, the Odyssey has filled the role of minivan for Japanese automaker, Honda. The Honda Odyssey has had many standard and optional stereo systems over the years; from cassette players and CD changers, to satellite radio receivers and Mp3 players. To upgrade the factory system with an aftermarket stereo, you must first remove the appropriate dash panels in the proper sequence. Once the dash panels have been removed, connecting an aftermarket car stereo in the Honda Odyssey is a straightforward and rather simple task.
Lift the hood of the Honda Odyssey and disconnect the grounding cable from the negative battery terminal with the 10mm wrench.
Pry the lower left corner of the center dash panel away from the dashboard inside the Odyssey with the trim panel removal tool. Move the trim panel tool around the perimeter of the panel until it is completely relieved from the dashboard.
Reach between the trim panel and the dashboard and disconnect the wiring attached to the trim panel. Pull the hazard light wiring at the upper left corner of the panel, the heater control wiring at the upper right corner of the panel, and the interior light control wiring at the lower left corner of the panel, away from the trim panel. Squeeze the spring-loaded locking mechanism tab to disconnect the wiring.
Remove the three screws on either side of the stereo mounting bracket with the Phillips-head screwdriver.
Pull the stereo unit from the stereo mounting bracket far enough to reach the wiring connections at the rear of the unit. Pull the wiring from the back of the radio.
Connect the stereo wiring to the wiring harness adapter.
Insert the faceplate adapter into a stereo mounting bracket. Pull the stereo wiring with wiring harness adapter attached, through to the front of the faceplate adapter. Connect the wiring harness adapter to the after-market stereo.
Slide the new stereo into the faceplate adapter. Replace the three screws on either side of the stereo mounting bracket using the Phillips-head screwdriver.
Connect the electrical wiring to the hazard lights, the heater controls, and the interior light control on the back of the center trim panel.
Place the center trim panel around the new stereo and press it against the dashboard until the clips that secure it to the dashboard are reconnected.
Place the grounding cable around the negative lead post of the Odyssey's battery and tighten the cable's clamp with the 10mm wrench.