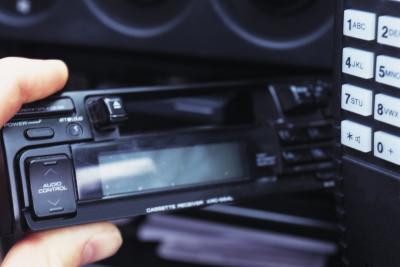
There's a chance that the factory radio installed in your Chevrolet TrailBlazer truck may not be the quality you want. It can be easy to replace that stock radio with an aftermarket stereo unit of your choice. Most stores that sell aftermarket car stereos will also install them for you, but it is possible to do it yourself. It's easier if you can find a unit that uses the same electrical connector as your model TrailBlazer.
Disconnect the truck's negative battery cable by loosening its cable clamp nut.
Remove all trim panels covering the radio unit; this can include a lower center insulator panel and an accessory trim plate. Remove any screws with a Phillips screwdriver and pry out the panels with a trim stick if needed.
Unscrew the mounting screws for the radio; these can require a Phillips screwdriver, Torx wrench or Allen wrench depending on the year. Pull the radio out of the instrument panel and disconnect the electrical connectors and antenna lead to remove it.
Install the new radio by connecting the electrical connectors and antenna lead and placing it within the instrument panel. If the unit came with its own mounting screws, use them to mount the radio in place.
Re-install all trim panels that were removed and reconnect the battery cable.