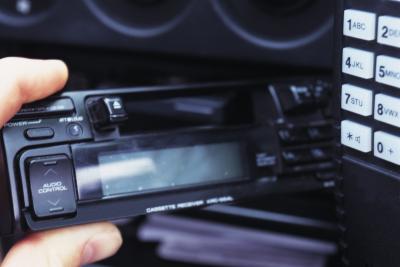
When choosing a stereo for your vehicle, the process for operating all of its features should be easy enough to learn quickly. Most often we think of the more advanced functions of our new deck, like CD playback or satellite radio control, rather than the most basic functions. JVC stereos require a rather elementary process for setting the clock once the basics for all of the controls are learned. You can have a technician at an aftermarket retailer walk you through the setting of the clock, or you can do it yourself.
Turn on the JVC stereo by pressing the "Power" button at the top left corner of the stereo's face.
Press the "AV Menu" button, found at the top of the stereo's face, next to the display window. The menu will open on the screen and the "settings" option will be highlighted.
Press the "Enter" button located on the bottom left of the stereo's face, near the bottom left corner of the stereo's display window.
Press the down arrow on the selector (circular button on the left side of the stereo's face) until "clock" is highlighted. Press "Enter."
Use the selector to adjust the hours up or down by pressing the selector's up arrow and down arrow. Press "Enter."
Use the selector's arrows to adjust the minutes. Press "Enter." Use the selector to choose between AM or PM. Press "Enter" to complete the clock setting and return to the main display page.