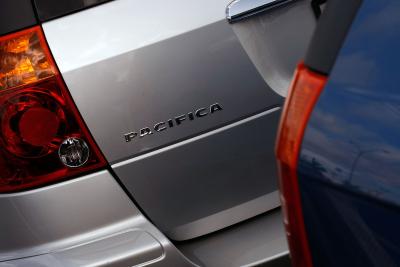
The Chrysler Pacifica was produced between 2004 and 2008. Its dash (including the radio) was designed like many other Chrysler/Dodge/Jeep products of the time period. Since the Pacifica never received a design or major interior update, the process for removing the CD player will be the same no matter the model year of the vehicle. Once you remove the CD player, you can replace it with an aftermarket or upgraded factory unit.
Apply the parking brake and disconnect the negative battery cable.
Remove the gear shift knob. The knob is attached by a Torx screw on the front; remove the screw and pull the knob straight off.
Remove the gear shift console trim panel. The panel is attached by clips; pull it straight up to disconnect them and remove the panel. Once it's off, unplug the electrical harness from behind it.
Remove the plastic ignition trim. Use a flathead screwdriver to pry off the trim piece.
Remove the panels surrounding the radio. Remove the inverted "L" shaped panels on each side of the radio; grasp them with your hands and pull away to remove them.
Remove the screws securing the CD player. There are four Phillips screws holding the radio in its mount; remove them and the CD player will slide out easily.
Unplug the CD player. The CD player is connected to the vehicle via a cable and a wiring harness. Disconnect the cable and the harness to completely remove the CD player.