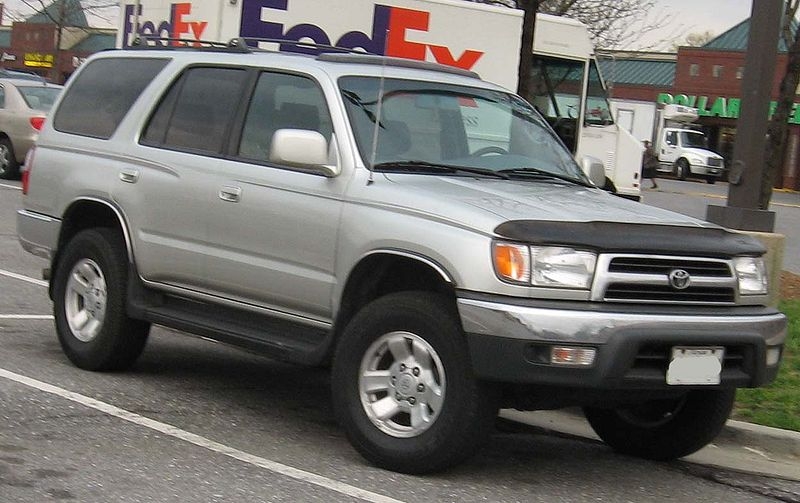
The 2000 Toyota 4Runner is the fifth production year model of the third generation Toyota 4Runner. Since the third generation 4Runner was assembled with the same dash and radio setup for its entire production run, replacing the radio will be the same in all 1996 to 2002 models. The process is much different for models prior to 1996 and after 2002.
Turn the engine off, pop the hood and disconnect the negative battery cable for safety.
Twist the 4WD shift knob (if equipped) to remove. Remove the console shift trim. The console shift is attached by clips instead of screws; pull up until the trim comes off.
Pull the air conditioning fan controls and A/C button from the climate control panel.
Use a trim panel tool or flat head screwdriver to pry off the climate control panel. Like the console shift trim panel, it is attached by clips. The panel will easily come off.
Remove the two screws made visible when the climate control panel is removed.
Grab the base of the radio surround panel directly in front of the gear shift knob. Pull the panel until the clips are released. Carefully pull back the panel to expose the rear.
Disconnect the three wiring harness connections on the rear of the panel. Set the panel aside.
Remove the four mounting screws around the radio. Carefully pull the radio out and disconnect the wiring harness and the antenna cable.
Attach the factory wiring harness and antenna cable to the new radio. Mount the radio in the mounting bracket with the screws. Reconnect the radio surround panel harnesses, reattach the radio surround panel and pop the clips in.
Replace the two screws on the climate control panel, and then replace the climate control panel and the knobs.
Reattach the shift knob panel and twist the 4WD shift knob on (if equipped). Reconnect the negative battery cable.