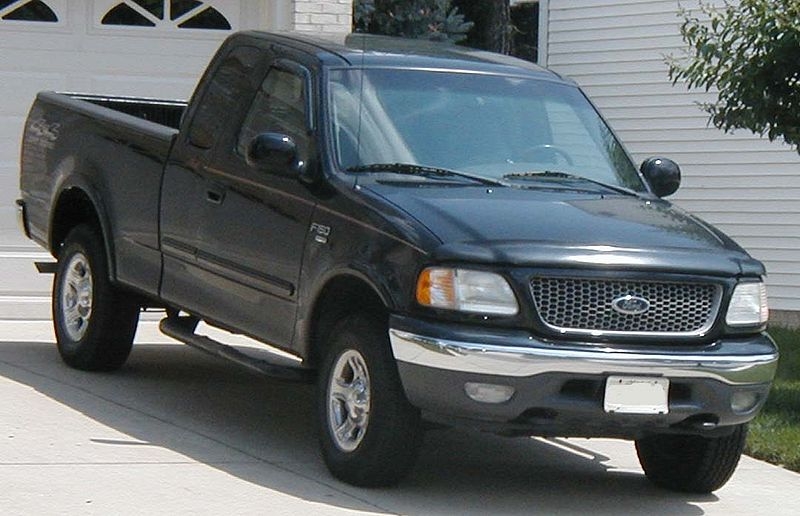
The Ford F150 has been the best selling vehicle in America annually 27 times, during its production cycle. Unfortunately, some entry level models of the F150 didn't come equipped with a CD player, but rather a simple AM/FM radio. Whether you are adding a CD player in your F150 for the first time, or replacing a broken one, the installation instructions are the same.
Disconnect the negative battery cable and park the F150 in a well-lit area. Gather all tools required for procedure and have a seat inside the truck.
Use the trim panel tool to remove the radio surround panel, which includes the center air vents. The panel is not mounted with bolts or screws, but rather clips. If you don't have the trim panel tool, you can try popping it off with your hands.
Use the Ford radio hooks to remove the radio head unit. Locate the tool holes on top of one another on each side of the radio. Insert the hooks fully, and then push the hooks outward to release the mounting clips. The radio will slip right out.
Disconnect the wiring harness and the antenna cable from the rear of the old radio head unit and set the unit aside.
Replace the factory wiring harness with the one specific to your CD player. Follow package instructions carefully; they vary greatly with different models.
Mount the proper bracket into the radio cavity. All Ford F150 trucks have a double DIN radio cavity. If you are switching to a single DIN unit, you will need a mounting kit for double DIN radio cavities. If you are installing another double DIN unit, use the normal mounting kit provided in the installation kit.
Plug the wiring harness into the new CD player and install the antenna cable. Install the CD player into the mounting bracket with the provided screws. Replace the radio surround trim panel (it pops right back in), and reconnect the negative battery cable to try out your new CD player.