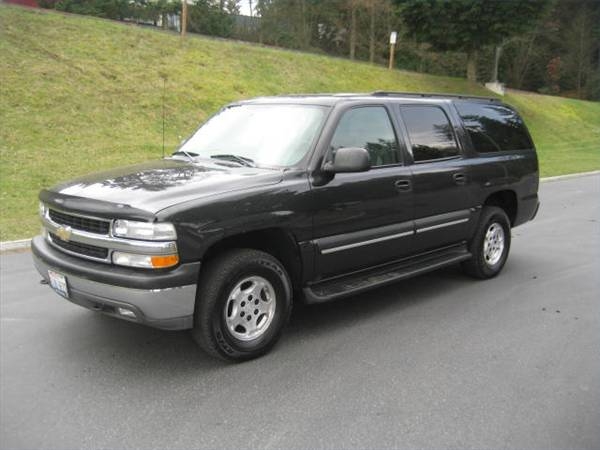
Chevrolet Suburban stereo systems have evolved over the course of the model's 60-year lifespan, but for most of those decades the radio followed a standardized installation schematic. The average stereo installer can complete the job in about an hour.
Disconnect the battery. Suburbans since the late 1970s use a side-mounted terminal design. Most models will use a 10mm bolt to hold the positive terminal to the battery.
Remove the old stereo, if applicable. The front dash panel must be removed to take the stereo out, and this procedure is slightly different for each model type. Older Suburbans will have a 1/2 DIN stereo opening, and only the front radio panel must be removed with a screwdriver. Later models can have a 1.5 DIN opening, which is slightly taller, but the same width as a 1 DIN hole. Even newer Suburbans can have a 2 DIN hole, which accommodates a view screen with navigation functions. On most late models, the entire front dash panel can be taken out by removing the lower bolts with a socket wrench, then pulling gently on the top until it disengages from the pop rivets. The radio is held in with two bolts, and is connected to the wiring harness with an adapter.
Splice the new stereo's wires into the wiring harness adapter kit's plug. Most will have a wiring diagram that gives the colors for each wire, which can differ for the model year. Splice the wires by stripping their insulation and twisting them together, then covering each connection with a liberal amount of electrical tape.
Mount the stereo into the adapter kit's provided plastic plate. For 1/2 DIN radios, this will give a more professional look, and fill the gap caused by a smaller unit in the dashboard. The radio will slide into the plate from the front, and when it is in place it has metal tabs that can be bent back to secure it.
Bolt the stereo and plate into the radio opening. Attach the wiring adapter to the truck's harness, then push the radio into place. Secure the radio's plate to the dash by reattaching the bolts.
Replace the dash panel or radio panel plate. Press it into the pop rivets, then bolt the bottom with the socket wrench.
Reconnect the battery and test the radio.