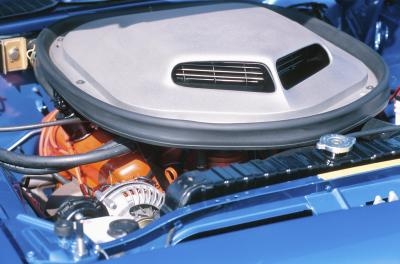
Designing and building your own fiberglass engine cover can add personalization to your car while keeping a dirty engine covered. Purchasing fiberglass engine covers car be expensive, and many of the designs available for purchase are very similar. Although working with fiberglass can take a lot of patience and can be tedious, it can also save you a lot of money and leave you with a custom engine cover of your own.
Carefully design your engine cover on paper with special attention to dimensions. Locate the holes where the fiberglass engine cover will fit on top of your engine and make sure your design includes areas that will connect the cover to the engine.
Carve the foam of block according to the design that you have sketched on paper using a knife or razor blade. The foam mold you have created should be the polar opposite of the final piece. Sand down the foam using 180-grit sandpaper to create a smooth surface. Cover the foam in Bondo and allow it to completely dry. Sand the Bondo down with 220-grit sandpaper until smooth.
Spray the thick polyester primer on top of the Bondo and allow it to dry. Drying time will vary according to the brand. Allow to sit for three or four days and wax three to four times in the mean time. This surface will be the same surface your engine cover will have which is why a smooth waxed surface is need to ensure a smooth engine cover.
Break the fiberglass sheet into small pieces until the fiberglass is completely separated. Using a brush, apply the resin on top of the primer and lay the fiberglass on top. Use a roller to remove any air bubbles in the resin. Repeat this process three times.
Use a razor blade to remove any protruding pieces of glass after the resin has dried. Use a wooden mixing stick to gently pry the engine cover from the mold. Use an air blower to aid the process by blowing air in between the piece and mold.