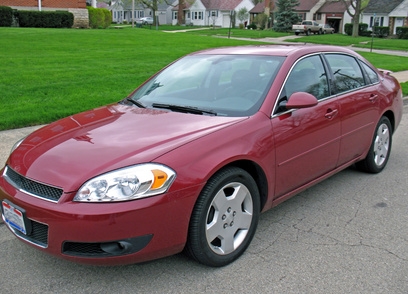
Most Chevrolet vehicles use a four-headlight system. Yet only two headlights -- either the two low-beam headlights or the two high-beam headlights -- can be used at one time. The low-beam headlights turn off automatically when the high-beams are activated by the driver. With the installation of a four-headlight conversion kit, all four headlights will stay on when the high-beams are activated.
Open the hood and locate the two retaining pins on top of the driver's side headlight assembly. Pull the pins straight up and tilt the headlight assembly away from the front of the vehicle.
Locate the wiring harness on the back side of the headlight assembly. Push the purple wire in the harness into one of the grooves on a wire tap until it is fully seated. Push the white wire from the headlight conversion module into the other groove on the wire tap in the same manner. Close the hinged cover on the wire tap until it clicks into place. Place the jaws of a pair of pliers over the top and bottom of the wire tap and squeeze the handles together so that the metal prongs in the tap penetrate both wires. Remove the pliers.
Connect the pale yellow wire from the vehicle's headlight wiring harness to the brown wire from the headlight conversion module with a wire tap in the same manner.
Push the headlight back into place and push the two retaining pins down.
Mount the headlight conversion module to a flat, structural member in the engine bay by first cleaning the mounting area with a rag and rubbing alcohol, then peeling the protective backing from the two-sided tape on the backside of the module. Press the module firmly to the desired mounting area and hold it for a few seconds. Close the hood.