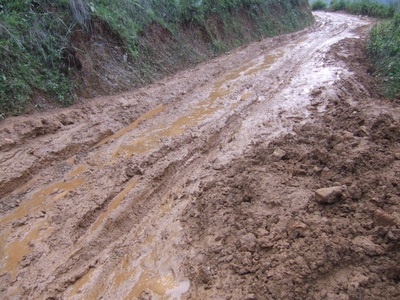
Mud flaps are used to prevent dirt and mud from getting on the tires, the undercarriage of the vehicle and from getting on other individuals and vehicles close by. While mud flaps are very useful they are also very expensive. You can avoid having to pay a lot of money for a set of mud flaps by learning how to create your own. Making and installing your own mud flaps should only take an hour of your time and very little of your money.
Find the distance between the left and right rear fenders. Measure the width of your fenders also.
Use a drill to make holes in the steel bar to mount the steel brackets. Make the holes at the end of the bar. Thread bolts through the brackets and into the holes you drilled into the steel bar.
Measure the width of your tires. Use that measurement to cut your rubber flap to the appropriate size. Make the size of the flap slightly larger than the size of the tire.
Secure the flaps to the steel bar by threading bolts through the flap into the brackets at each end of the steel bar.
Attach the completed mud flap assembly to the undercarriage. Drill small holes using a small bit into the undercarriage. Bolt the bar in place.