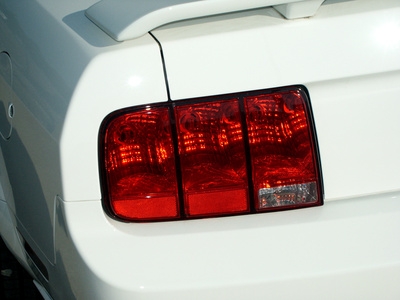
LED turn signals use less power and last longer than conventional incandescent bulbs in turn signals. But because LED bulbs draw less power than conventional bulbs, LED bulbs do not activate the flasher, which is a separate component. To solve this dilemma, a resistor is needed to add a dummy load. The resistor is wired into the turn signal and simulates the load of a standard bulb. Change your turn signals to LED once and you may never need to change them again.
Open the hood and remove the negative lead from the battery. Then open the trunk and unscrew the signal light housing at the rear of the trunk, and pull the housing straight out the back. You may need to pull up the trunk liner and move it aside. Unplug the electrical harness (the large bundle of wires) from the board where the bulbs are connected.
Pull out the old bulb from the board and insert the new one. This is going to be the outside bulb on most vehicles. On some models, however, it may be in the middle between an upper and lower bulb. Check the bulb diagram in your vehicle's owner's manual for more information.
Find the wiring for the turn signal bulb by following the leads where the bulb connects to the board. Follow the two lines from the bulb connector to the where the electrical harness plugs in, and see what color the wiring is at the plug in connector. The coloring is usually brown for negative and blue for positive, or some similar variation. If in doubt, check the specifications in your vehicle's owner's manual. Next, locate the same color-coded wires in the bundle of wiring that plugs into the bulb board.
Load the positive turn signal wire into the crimp connector supplied with the LED turn signal kit. This crimp connector is a 1/2-inch long piece of plastic with two channels in which the wires are loaded. Place the positive wire into one channel and the resistor wire into the other. The resistor is also supplied with the LED turn signal kit. Load the negative wire into one channel of another crimp connector, and then load the other end of the resistor wire into the second channel. Crimp the connector. Repeat this step for the other signal light.
Replace the signal light housing and screw it down. Fix the trunk liner and reconnect the battery. Test the turn signals to verify they are connected properly.