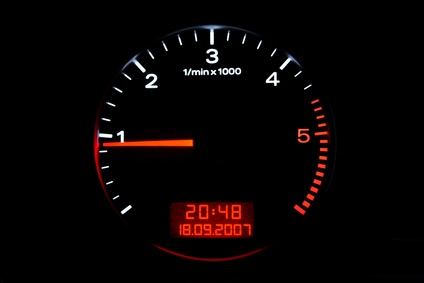
A shift light is a gauge that illuminates when the vehicle's tachometer reaches a preset rpm. The tachometer measures the rpm and the shift light indicates the optimal shifting time to the driver. This increases driver performance on the track because it frees the driver from having to scan the tachometer so frequently. You can build a shift light from a kit containing three components: a shaft module, the quick light that illuminates at a preset rpm, and the pill kit (which enables you to program the desired rpm setting).
Choose a location for the shaft module: a 4-inch-long cylinder that holds the quick light (the actual part that illuminates). You can install the shaft module over the steering column or on the dash. Choose a place that does not obstruct the view of the instrument cluster or interfere with the view outside the vehicle.
Drill two holes 1 inch apart in the location you have chosen to install the light. Drill the holes side by side, so they are parallel with the steering wheel. Then snap the shaft module into the clip that connects the module to the car surface. The clip is a plastic piece in the shift light builder's kit that fits around the shaft module with a screw hole located on each of the plastic "feet." Drive two screws into the steering column to hold the module in place.
Run the three wires--black, red and green--from the shaft module down behind the steering column so they are out of the way, and to the under-dash kick panel beneath the dashboard on the driver's side. Remove the plastic clips holding the kick panel. Inside the kick panel, you will find a small square box bolted to the frame of the car that holds the instrument cluster computer. Unbolt the computer with the 10mm wrench.
Ground the black wire by drilling a hole into the frame of the vehicle--near where the computer bolts onto the frame--and screw down the spade connector on the black wire so that it touches the frame. The spade connector is shaped like a "C" and fits around the screw. Next, open the computer box and find pin 48, clearly labeled on the ECU, which is the Electronic Control Unit inside the computer box. Connect the green wire from the shift light to the wire coming off pin 48 using a wire tap connector from the kit. Connect the wire tap to both wires--a small plastic double-sided clamp where both wires fit into each side--and crimp the wire tap tightly together. Finally, locate the fuse box, also on the driver's side (usually behind a panel somewhere near the gas pedal or the driver's side door), and connect the red wire to the radio fuse. Remove the fuse and align the end of the red wire with the fuse lead, and then insert both the lead and the wire into the fuse socket.
Plug the quick light into the front of the shaft module and plug the 3.0 pill into the back of the shaft module. There are five pills in the programmable pill kit; each pill resembles a little plug with two copper leads, labeled with the preset rpm setting so you can choose when the shift light illuminates. Turn on the ignition, and with the car in neutral, rev the motor to 3000 rpm. The shift light should illuminate. For a different rpm setting, you have a choice between 3.0, 3.2, 3.4, 3.6 or 3.8 labeled on each pill, which means 3000 rpm, 3200 rpm, 3400 rpm, 3600 rpm and 3800 rpm, respectively.