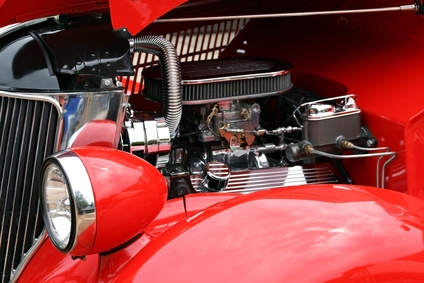
Cool, fresh, clean air is essential for achieving top performance from a Ford F150 engine. The original air box that comes as stock equipment with the F150 actually restricts the flow of fresh air to the engine intake. An aftermarket cold air intake design increases air flow and, as a result, produces an increase in engine horsepower. Installing one takes some basic tools and a modest investment of your time.
Set the parking brake on the truck and allow the engine to cool for two to three hours. Parking in a garage or a shaded area provides the best environment in which to work.
Remove the negative battery terminal from the truck battery with a combination wrench. This does two things. It allows the truck computer to power down and reboot later so that it adjusts to the increase in air flow with the new intake. Also, it effectively isolates battery power to the mass air flow sensor for removal and re-installation.
Loosen the clamp holding the existing air intake to the throttle body using a flat-head screwdriver. Slip the intake hose off the end of the throttle body and allow it to rest in place.
Loosen the clamp connecting the air intake to the air filter box. Slide the clamp and intake off the outlet of the box. An intake temperature switch installed in the intake tube will have to be removed at this point. Unplug the sensor cable and let it hang down out of the way. Pull the air temperature sensor out of the factory tube and carefully set it aside.
Disconnect the crankcase breather tube from the factory intake by pulling it out. Grasp the intake tubing with both hands and pull it out of the engine bay. You may need to slightly twist the tube to remove it from the throttle body and air box connections. When the tube is out, set it aside.
Unplug the mass air flow sensor wire connector at the engine harness. The sensor assembly mounts inside the factory air box. The mass air flow sensor will be reused with the new cold air intake.
Pull up on the factory air box to release it from the inner fender well and set it on a clean, flat working surface.
Take the factory air box apart. The mass air flow sensor attaches to the box with four 10 mm screws. Take the screws out of the sensor housing with a 10 mm nut driver. Handle the sensor carefully, as it is easily damaged. With the mass air flow sensor out of the air box, set the old air box to the side and prepare to assemble the new cold air intake.
Install the mass air flow sensor into the new filter housing. Secure it in place with the four bolts, washers and nuts provided with the kit. Tighten the nuts down with a Phillips screwdriver and 5/16-inch wrench.
Plug the sensor cable into the mass air flow connector and slide the rubber weather seal back into place around the sensor connector.
Set the new air filter assembly into the position where the factory air box sat. Use the two bolts provided with the cold air intake kit to secure the filter assembly.
Slide one of the new cable clamps onto the new rubber elbow provided with the kit. Install the rubber elbow onto the throttle body intake.
Install the kits' black intake tubing to the mass air flow sensor housing with one of the clamps.
Complete the intake tube assembly installation by slipping the intake tube into the elbow--at the throttle body--and the other end of the intake tube to the airflow sensor housing. Secure all four clamps with a regular screwdriver.
Reconnect the crankcase breather hose to the new air intake tube. Insert the air temperature sensor into the new tube and plug in the sensor connector. Finally, reconnect the mass air flow wire plug to the engine harness.
Put the new cold air intake filter element onto the air intake and secure it in place by tightening the clamp with a regular screwdriver. Reconnect the negative battery cable and enjoy the additional engine horsepower.