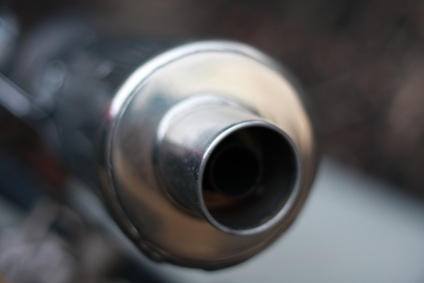
Installing an aftermarket exhaust on your Yamaha Rhino will increase performance. Aftermarket exhaust components are larger and allow more air to flow through the engine. This will allow the engine to run more efficiently and consume less gas, which will save you money. Don't take your Rhino to a mechanic to modify your exhaust system; do it yourself and save money.
Disconnect the rear taillight wiring by removing the screw holding the clip on using a screwdriver.
Disconnect the bed pins using your hands. Remove the bed with a partner by lifting it off of the Rhino.
Remove the stock heat shield and stock exhaust system by removing the bolts with a ratchet and socket.
Remove each gasket and inspect them for cracks. If any of the gaskets are deformed, replace them during installation.
Install the mount bracket that came with the kit. This mounts where the new muffler will be positioned. Do not tighten the bolt completely at this point.
Install the new head pipe into the stock header near the engine.
Place a clamp over one end of the new muffler and slide it onto the head pipe. Hand tighten the clamp.
Attach the muffler using a bolt to the factory vibration mount. Make sure the muffler is in line with the head pipe before tightening the bolt with a ratchet and socket.
Align the head pipe with the muffler and tighten the clamps using a ratchet and socket.