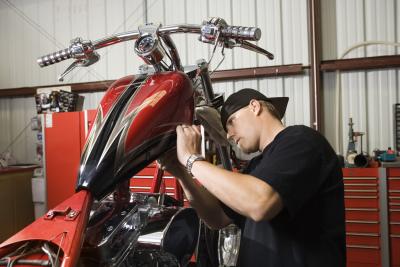
A tachometer is a device that measures the rotation speed of the engine of your motorcycle, and displays this information to you in an easy-to-read fashion. This provides the rider with a greater understanding of the work the engine is doing, as well as information on when to shift and a means by which to ensure good fuel economy. Unfortunately, many motorcycles, especially those of the cruiser variety, do not come standard with a tachometer. Get to know the performance of your bike better by installing a digital tachometer to your dash.
Remove the tachometer from the packaging. Using the included documentation, locate the ground and receptor wires. Make a mental note to identify the cables.
Use the included hardware to attach the tachometer to the handlebars of your motorcycle. If there is no room on your handlebars, or the included mount will not work for some reason, zip ties will work as a temporary solution.
Run the receptor and ground wires down the handlebars and frame of the motorcycle to the engine, near where the spark plugs connect to the cylinder head. Use zip ties to secure the cables to the frame so as to avoid damaging them while riding.
Wrap the receptor wire tightly around one of the spark plug wires. If necessary, tie it with a small knot, or zip tie the cable in place on the spark plug wire.
Loosen a bolt near the engine, such as a hardware-mounting bolt or cylinder-head bolt. Set the end of the ground wire underneath the head of the bolt. Tighten the bolt down on top of the wire to keep it in place.
Start the motorcycle and watch the tachometer. Make certain that you are getting an accurate reading from the tachometer and then take the bike out for a test ride to be sure it works at all engine speeds.