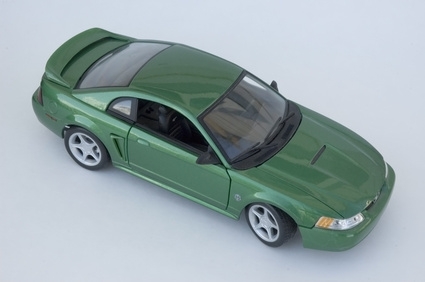
If you want to modify your car but you want to know exactly how it will look with a certain body kit attached, you can get a "sneak preview" by assembling the body kit in a photo editing program. You don't even need an expensive photo editing program on your computer to carry out the necessary steps for designing your car's body kit. With the right program and using the right procedure, you can assemble the parts and make them look like they are actually part of the car.
Take a picture of your car from a side angle and load it into your computer through your camera's memory card or USB cable. Open an advanced editing program that will allow you to open multiple pictures at once, colorize and blend parts of images together. Download a free program like Paint.NET, GIMP or a free trial version of Paint Shop Pro.
Download pictures of cars that have the body kit parts that want to use on your car. Make sure that the pictures are viewed at the same angle as the picture you took of your car. Its okay if the pictures are larger than the picture of your car.
Open the picture of your car in the photo editing program you have, and open the pictures containing the body kit parts. Click on the "Lasso" or "Magic Wand" tool and select the part of the body kit and go to "Edit," "Copy" in the top menu. Click over to the picture of your car and go to "Edit," "Paste as new selection." Position the part on the car where you want it to appear. For example, place the side skirt on the bottom edge of the car.
Select the "Deform" tool or "Move Selected Pixels" tool and you will see dots appear on the corners of the selected body part. Click on one of the corners of the selection and drag it to resize it to fit the body of the car.
Go to "Adjustments" in the top menu and use the "Brightness/Contrast" and "Colorization" functions to adjust the body part so that it matches the color of the rest of the car. Blend the body part in with the image of the car even more by selecting the "Smudge" or "Blur" tools and softening the edges of the body part.
Repeat this process for all of the body kit parts that you paste onto the photo of your car. Save it when you are satisfied with the look of your car.