Whether you are installing a cable on a new winch or replacing your old cable, installing a winch cable is pretty easy to do. The steps are almost the same steps you use every time you use the winch, except when installing a new cable you must pull out the retaining bolt to remove the old cable and attach the new one. You can choose standard steel winch rope or cable, or opt for a hybrid nylon winch rope. The steps are the same either way.
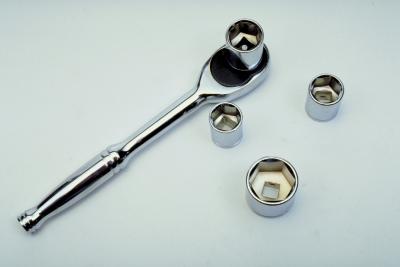
Remove the old cable from your winch. Put the clutch in the freewheel setting, and pull the cable off the drum. Remove the retaining bolt, using a socket and ratchet, and discard the old cable.
Insert the new cable through the fairlead on the front of the winch. The cable must be attached so that it feeds off the bottom of the drum when being spooled out.
Insert the cable retaining bolt through the eyelet or loop on the end of the winch cable. Some cables may not have the eyelet, so be sure to get a cable that is designed to work with your winch.
Apply a few drops of thread locking compound on the threads of the bolt; then thread it into the hole on the drum, and tighten it with a socket and ratchet. When tightening it, make sure it is secure. But it does not need to be torqued, because the cable will not be pulling on the screw when under load.
String the cable out in a long, straight line and attach it to a tree or other solid object. Slowly winch in on the line with your truck in neutral. Maintain just enough weight on the line to keep it tight as you spool in.
Wind the line onto the drum in tight, close loops. Keep them as close together as you can without allowing the cable to overlap itself, until the first layer of the drum is completely covered.
Continue spooling in on the winch, building new layers on top of the previous layer until most of the line is on the drum. Unhook the cable from the tree and spool in the remaining cable.