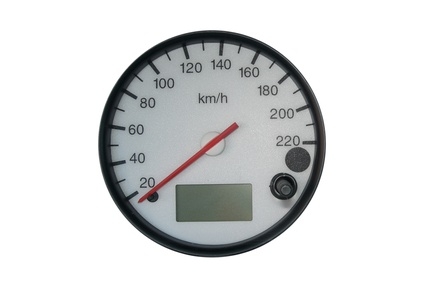
An aftermarket tachometer with a shift light is a common upgrade for car owners who want to keep better track of their engine's RPMs. The shift light comes on at a predetermined RPM, letting the driver know that he needs to shift to the next higher gear. A shift light is particularly helpful when the driver is on a racetrack. When the light goes off on the tachometer, the driver knows it's time to shift without taking his eyes off the road.
Determine where you want to mount the tachometer. Common locations for a tachometer are on the dash in front of the driver or on top of the steering column. You can also mount the tachometer where the stock tachometer is installed (if the vehicle has one), though installation in the manner is more complicated since the stock gauge must be removed.
Set the tachometer to correspond with the number of cylinders that your engine has (4, 6, 8 etc.). This procedure will vary depending on the type of tachometer you are using, but will involve pressing and holding a button on the back of the tachometer a number of times to set the tachometer.
Mount the provided shift light to the tachometer. The tachometer will come with a bracket for the shift light that wraps around the tachometer. The shift light is mounted to the bracket on top of of the tachometer. Plug the shift light wiring harness into the back of the tachometer.
Mount the tachometer with the supplied hardware. Aftermarket tachometers come with a bracket that wraps around the tachometer. The bracket itself is then bolted to the dash or to the steering column with the supplied hardware. You may need to drill small holes for the screws that hold the tachometer bracket in place.
Drill a ½-inch hole in the firewall near the tachometer to route the tachometer wires to the engine bay. Use a power drill and a ½-inch bit. You can also look for an existing hole that is being used to route wires and use that. If you drill your own hole, install a rubber grommet in the hole so the wires do not get frayed by the sheet metal around the hole.
Run the wires from the back of the tachometer according to the directions, which again will vary according to the type of tachometer you are using. There will be a main power wire that must run to the ignition switch or to the fuse box that will turn the tachometer on when the ignition is switched on. There will also be a ground wire and a wire that runs to the coil (on older cars) or to a computer (on newer cars) to send the engine speed signal to the gauge. Fasten a round eyelet to the end of the ground wire and screw it to a metal surface that is free of paint.
Locate an existing wire in the dash that goes to the gauge lights. Splice the wires for the tachometer into this wire using an inline connector. Turn the ignition on so the tachometer has power. Set the RPMs at which you want the shift light to come on (such as 5,000 or 6,000) according to the directions. This will involve pressing a button on the face of the tachometer or turning a dial to set the shift point.