Wiring your new Autometer tachometer into your car will complete the installation. Once you have selected a mounting location, you can run the four wires that operate the tachometer. The tachometer is designed to show the engine RPMs or rotations per minute. Autometer has designed their tach to be used with four, six and eight cylinder engines with the only requirement being that you must calibrate the tachometer during the installation process.
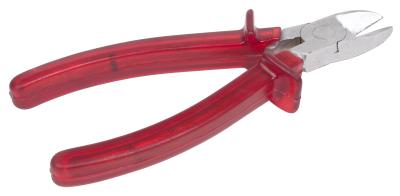
Calibrate your Autometer tachometer to your engine size as follows. If you have a four cylinder engine, clip the two looped wires on the back of the tachometer with wire cutters. For a six cylinder engine, clip just the brown wire, and for an eight cylinder engine do not clip either of the wires.
Run the red wire from the back of the tachometer to the fuse box of your car. Select an open switched power source in the fuse box to connect the red wire to. Most fuse boxes have several positions in the fuse box that will allow you to connect a wire to them using a spade connect. Check your owner's manual for a key that indicates what is available in the fuse box.
Strip about 3/8 inch of insulation off the end of the red wire with wire strippers and insert the wire into a crimp-on spade connector. Crimp the connector onto the wire with a pair of crimping pliers and insert the connector into the slot you selected in the fuse box.
Run the white wire from the tachometer to the wiring for the instrument lights. Connect the white wire to this wire using a crimp-on wire tap. Close the two halves of the connector around the white wire and the instrument light wire. Squeeze the metal tap on the connector down with a pair of pliers and snap the cover on the connector closed.
Route the green and black wires out of the passenger compartment through the firewall. Run the black wire to the negative side of the battery. Strip the end of the wire back about 3/8 inch and install a crimp-on ring connector. Connect the ring connector under the retaining bolt on the battery terminal and tighten the bolt with a wrench.
Run the green wire to the negative side of the coil. Strip 3/8 inch of insulation off the wire and install a crimp-on ring connector on the wire. Remove the nut on the negative post of the coil with a wrench and install the green wire on it. Replace the nut and tighten it with a wrench.