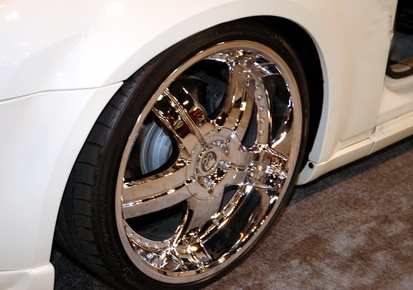
Purchasing a new set of aftermarket rims only to find that they do not fit on your vehicle can be a frustrating experience. Fortunately, you can change the bolt pattern on your vehicle to accommodate a large selection of aftermarket rims. An adapter with the correct bolt pattern is fitted over the existing stud bolts, with the aftermarket rims then mounted on the adaptor. Changing the bolt pattern is a relatively quick task that requires few tools.
Use measuring tape to measure the vehicle's current bolt pattern. With vehicles featuring 4-lug and 6-lug patterns, start at the top-most bolt and measure from the middle of the bolt to the middle of the bolt directly across from it. With 5-lug patterns, measure from the middle of the top-most bolt to the bottom of the bolt that is two bolts across from it.
Use the measurements of your vehicle's stock bolt pattern and the pattern needed for your aftermarket rims to find a suitable adapter. If you can't find one, you may have to have one custom made by a reputable machine shop.
Park your vehicle on a flat, level surface and loosen the wheel lugs with a lug wrench. Raise the vehicle with a floor jack and place jack stands underneath. Finish removing the wheel lugs and dismount the wheels.
Clean the wheel hub with brake cleaner and a shop rag. Place the adapter onto the hub and use the included bolts to secure the adapter in place. Tighten the bolts using a torque wrench to the specifications called for by the manufacturer of the adapter.
Mount the rims onto the new adapter and reattach the wheel lugs. Use the torque wrench to tighten the wheel lugs to spec. Repeat the procedure for the other wheels.
Remove the jack stands from underneath the vehicle. Lower the vehicle to the ground with the floor jack.