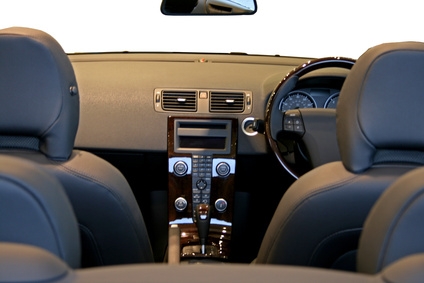
Leather car seats wear out with use, but you can replace them without paying an extreme amount of money. The job may take you four hours or more due to the various pieces that need to be dissembled. When removing the seat covers, make sure to take your time and save all removed parts reassembling the covers later.
Remove bolts from the front seat. There are usually four bolts holding each of the front seats in place. Make sure to tip the seat backwards to check for electrical connections. If there are electrical connections, unplug them and then remove the seat from the vehicle. Save all the bolts, screws and other parts for reinstalling the seats.
Remove the cushion from the back seat first. Find the two bolts or clips holding the front of the cushion to the floor near the carpet. Unbolt (or unclip) the front of the cushion in the back seat and slide the cushion from the vehicle. After removing the cushion from the car, the four bolts then become visible. Save all the bolts, screws and other parts for use in reinstalling the seat.
Remove the bolts from the folding armrest. Slide the seat back upwards and remove it from the vehicle. Save all of the bolts, screws and other parts.
Remove the plastic trip pieces from the front seat cushion. After trim pieces are removed, flip the front seat upside down. Remove the four bolts holding the seat cushion to the seat frame. Remove either the J hooks, which are plastic channels that clip onto the frame of the seat, or remove the hog rings that hold the leather to the seat-cushion pan. These can be removed by folding the factory leather up towards the center of the seat. The insert seams will then be revealed. Separate the Velcro from the foam, making sure it does not rip.
Remove the headrest from the back seat and set it aside. This is accomplished by holding the release button on the headrest. Once the headrest is removed, flip the seat upside down. If the seat has vinyl or cloth backs, you will have to remove the J-hook, snip the hog rings or unzip the cover to roll it up. When you roll the cover up over the seat, remove the hog-rings or Velcro holding the insert seam lines to the foam. Next, remove the hog rings as you roll up the cover. If the seat has a hard back, a series of screws will hold it to the seat. Remove the screw and pull open the hard back to determine if it needs to be slid up or down. Once everything is removed, you can see how the seat cover is attached to the frame. Next, pull the cover up and over the foam seat back core: this should be loose and easy to remove.
Remove the backseat cushion by placing it upside down. Work your way around the cushion by removing the hog rings J hooks. After removing the attachments, fold the cover up over the foam. Then snip the hog rings for the inserts and remove the cover of the seat.
Replace your front seat cushions by "hog-ringing" the inserts, while moving towards the edge of the seat. Recover the foam core and seat pan and then set it aside. Reattach your plastic hardware. Cut holes for the headrest posts as well for any switches.
Cut small slits in the leather seat to work it around the headrest posts. Tuck the excess leather under the headrest posts, levers and switches.
Install the backseat cushion seats by folding the cover over the foam. Next, hog-ring the perimeter of the cushion to the where the factory attachment points are located to finish the seat.