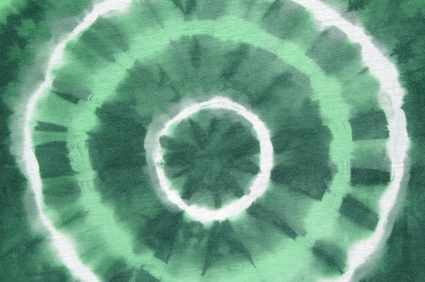
Tie-dye designs are symbols of the 1960s and 70s "hippie" movement. If you were once a bold flower child or simply like the style of tie-dye, there is no reason why this look should be limited to the things you wear. Consider adding a tie-dye touch to the car you drive. Painting your car at home can be a challenging task, but it is a much more affordable option than having it professionally detailed.
Prep the surface area of your car. First, thoroughly wash and wax your car. Line your windshield with duct tape to protect it from sanding. You may need to use a dual action sander with 80-grit sandpaper to remove the previous paint job and help prepare the surface for your new paint to adhere.
Choose several different colors of spray paint. Check the label or talk to a paint store employee to make sure that the paint you choose is approved for painting your car. The variety of colors you choose depends on how many different colors you want in your tie-dye design.
Tape off and cover your windows, bumpers, car handles, tires or any other area you do not want to be painted. You can use masking tape or painter's tape. Use garbage bags to cover large areas such as the windshield or grills.
Use pieces of painter's tape to create spiral designs on the outside of your car. When creating a tie-dye design on fabric, you would tie your fabric up with rubber bands or twine in sections to create un-painted areas of your design. To create a similar effect on your car, "use tape to cover the areas that will not be painted."
Spray the paint directly onto your car as directed on the can. Layer different colors over one another to create a tie-dye effect. Do not worry about getting paint on the tape; you can easily peel the tape away to reveal your design once it dries.