When it comes to restoring cars, the interior is one of the most important aspects. A nicely restored interior is a great place to be in a classic car, especially if it has that new car smell again. Restoring a car’s interior is not a project for the faint of heart and can take several weekends of hard work, but the payoff is definitely worth the effort.
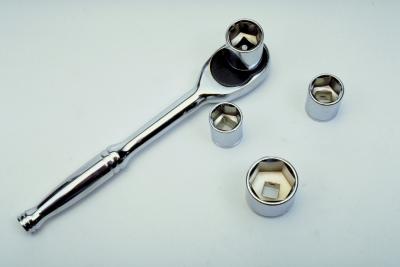
Remove the front seats. These are usually held in place with bolts located near the seat sliders at the front and back of the seats. You will need the socket set to remove these.
Remove the back seats if your car is equipped with them. These will also be bolted in, but how they are removed will vary from car to car. Consult a workshop manual or examine the seats to determine how they are removed.
Examine the carpeting. If the carpeting is still in good shape, you may be able to get away with simply steam cleaning it or removing it and dying it. However, on most cars that are being truly restored, the carpeting will more than likely need to be replaced.
Remove the carpeting by pulling it up. Depending on the model, you may have to remove the center console and trim along the doors that the carpeting tucks under, as well as any side panels. Pull up the sound deadening under the carpet. Scrape the floors with a metal scraper and a wire brush to remove any excess glue and carpet padding. Clean the floor with a cleaner, such as Simple Green, and dry it.
Remove the door handles, window cranks and any trim on the doors and their top edges. If the handles are chrome or stainless steel, polish them with metal polish and set them aside for later installation.
Remove the door panels and any other interior panels if they need to be replaced or recovered. Door panels are usually held on with clips or are sometimes screwed on. If they are held on with clips, gently pull the door panel away from the door.
Remove the dash if it is being replaced. Dashboards are bolted in with a series of bolts inside the dash around its perimeter. If the dash simply has cracks in it, you can save some money by installing a dash cap. A dash cap is a thin vinyl covering molded to the contour of your dash that hides the cracks and aging on the original dash.
Pull the headliner off of the roof if it needs to be replaced. Headliners are usually very complicated and difficult to install. This job should probably be done by a professional interior shop for the best results. Often, the windshield and rear window must be removed to install the headliner.
Glue down a new layer of sound insulation or carpet padding (whichever is appropriate for your vehicle). Spray carpet adhesive on the floor from about ten inches away. Let the adhesive sit for a few minutes and then install the padding, cutting and trimming the pieces as you go.
Install the new carpeting (see Resource 1) or the old carpet if it is being reused. Spray adhesive onto the padding as you go for each piece of carpeting, installing the new carpeting in the reverse of removal, ensuring that everything overlaps correctly.
Install the interior panels. Be sure to place new padding or moisture barriers behind the panels if your make and model used them. Install the polished and restored door handles and window cranks/switches.
Install the new dash or cover the existing dash with a dash cap (see Resource 2). These glue on over the existing dash. Use the spray adhesive that was used for the carpeting to install the dash cap.
Install the new headliner and replace any trim on the roof that covered the edges of the headliner.
Recover the front and backseats, if necessary. There are companies that make interior upholstery kits that vary in the level of difficulty for installation. Paint any exposed metal parts, such as the seat runners. Install the front and back seats.