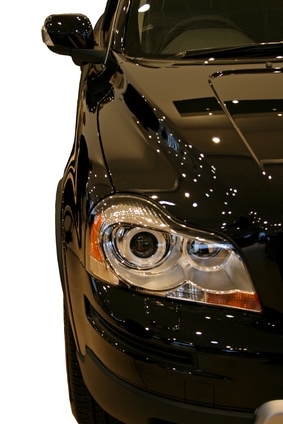
Headlights can become foggy or yellowed over time due to exposure to the elements. This may become a driving hazard, as your nighttime visibility will be reduced if the light becomes obstructed. There are many kits out there to help you restore your Saturn's headlights, but you can do it yourself with a few basic supplies if your model doesn't require that you replace the entire headlight assembly when your bulb goes out.
Open the hood of your car. From here, unscrew any visible screws holding your headlight assembly on. Disconnect the power wires from your bulb or slide your bulb out from the assembly.
Use the razor to remove any insects or other large debris stuck to the headlight.
Fill the spray bottle with water. Spray the entire headlight and sand using 800-grit sandpaper. Wetting as you sand keeps the headlight lubricated and washes away the grime. When finished, wipe the headlight with the cloth.
Switch to the 1500-grit sandpaper, still lubricating the headlight with the spray bottle as you go. Sand the entire headlight. Once finished, wipe down with the cloth again.
Spread the polish across the headlight. Buff using the cloth, going in small circles. This is the longest step, as you want to make sure the headlight is well-buffed to eliminate any excess roughness left by the sandpaper.
Finish the job with UV protecting sealant, which can be found at many automotive stores. Cover the headlight with it and buff in small circles. Applying the sealant will prevent further tarnishing and yellowing in the future.
Repeat the process on the other headlight. Once finished, fit the headlights back into your Saturn.