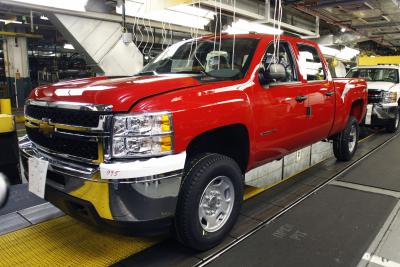
The Chevrolet Silverado pickup truck comes standard with seat armrests for increased comfort on long drives. However, some drivers may find the armrest uncomfortable or in the way, making for a frustrating drive. With a little time and a basic set of wrenches, you can remove the armrest from your Silverado, to give you more room for your arms or between-the-seats cargo.
Move the backrest of the driver's seat as forward as you can to make it easier to reach the seat mounting bolts on the Chevrolet Silverado. There will be one of these bolts on each side behind the seat, and one on each side in front of the seat. Remove the bolts and pull the seat out of the car.
Lay the seat on the backrest, so that you can work on the bottom of it. Remove the two bolts near the front of the seat to loosen the seat from the frame. The seat can be removed by lifting it away from the backrest.
From the bottom of the backrest, reach inside near where the armrest connects to the backrest. There is a small clip on the inside that holds the armrest in place. When squeezed, the clip will release from the backrest, allowing you to remove the armrest. It may take a few minutes to figure out how to remove the clip without being able to see it.
Replace the bottom half of the seat in the frame and the two bolts that hold it in place. Lift the seat into the truck and attach it to the seat rails with the four bolts you removed. Save the clip you removed from the seat, in case you ever wish to reattach the armrest. Replacement clips are not readily available.