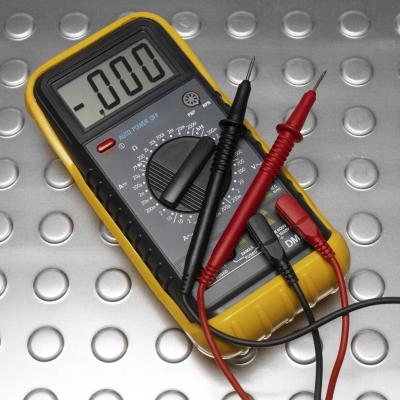
Your vehicle is equipped with a crankshaft position sensor. This electrical sensor monitors and records how fast the engine crankshaft is spinning. The sensor sends the rate to the engine computer, which then synchronizes the ignition timing and fuel injection accordingly. It's important to know how to test the sensor in case your "Check Engine" light appears.
Park the vehicle and allow the engine and components to cool. This can take 30 minutes to an hour, depending on how long the vehicle was driven.
Open the hood and locate the crankshaft position sensor. The sensor is mounted on the front of the engine block to the left of the water pump, or on the main pulley by the flywheel. Refer to your repair manual for the precise location.
Disconnect the sensor's electrical wire harness. Depress the two sides and pull the harness straight out of the sensor. Turn on the ohmmeter. Depending on your model, you may have to power it on or just connect it to the sensor.
Attach the ohmmeter's black wire to a grounded surface, such as the vehicle's negative battery terminal. Touch the ohmmeter's red lead to the sensor wire outlet. Refer to your repair manual for the acceptable resistance value range for your make and model vehicle. For example, in a GM 2.3L engine, the acceptable range is between 500 and 900 ohms. Read the ohmmeter and determine if the value registered on the tool is within the acceptable range for your vehicle. If not, the sensor is faulty and should be replaced.