The winch has two movements: "in" and "out." A direct wire links the winch solenoid to the battery. Routine maintenance checks can extend the longevity of the winch simply by reconnecting cable and wiring connections. The most recognizable sound a working winch makes is a clunk when it is given power. The power passing through the solenoid winch is 12 volts. During use, the two smaller lug studs of the winch hold 12 volts each; the other lug studs have continuous energy in the 12-volt range. Electric shock from touching the lug studs is painful.
Check the cable connections from the winch solenoid to the battery. If the cable terminals look corroded, clean them with a wire brush. If the cables look frayed, replace them with new ones.
Unscrew the solenoid cover after you disconnect the positive (red) winch cable from the battery. Make sure all the connections in the solenoid are secure; if you hear a clicking noise when you turn the winch, a wire might be loose.
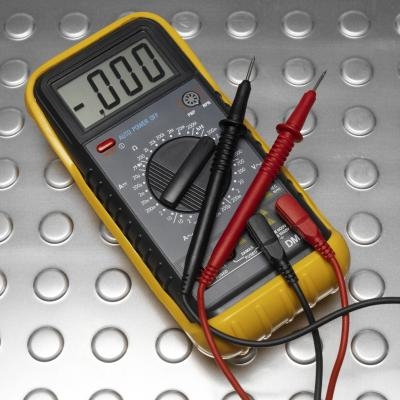
Touch a voltmeter to the large studs on the solenoid with the winch turned off. The two large studs are on the winch side of the solenoid. The voltmeter will read 12 volts if the solenoid is working.
Test the two small studs on the control side of the solenoid that is opposite of the winch side with the winch off. If the voltmeter reads 12 volts, then the solenoid is not working properly.
Conduct another voltmeter test on the large studs with the winch turned on. There should be no OHM reading.
Measure the OHM reading of the two small studs with the voltmeter when the winch is on. If there is no reading on the voltmeter, then the solenoid isn't working properly. The two small studs are energized with the winch activated.