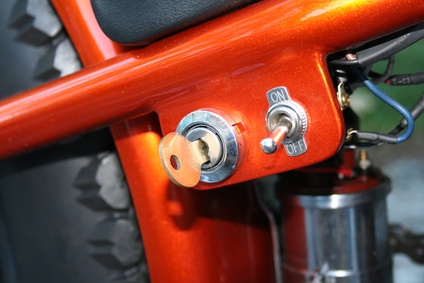
A toggle switch is an ideal dimming switch for use with headlights. By moving the toggle back and forth, metal pins at the bottom of the switch make contact with a piece of metal, initiating power supply to the headlights. To install a toggle dimmer properly, be sure to first determine the rating of your power supply, then purchase a toggle switch that is compatible with that rating. Once you have the right switch, installing it as a dimmer switch in your vehicle is easy enough that you can perform the procedure yourself.
Disconnect the negative battery cable using a ratchet and socket and access the fuse box. Locate the incoming power cable for the headlights. Remove the headlight fuse.
Determine where you want to install the toggle switch. Cut the headlight power cable near that location using wire cutters. You will now have two cable ends that meet at the toggle switch mounting location.
Strip both ends of the cables with wire strippers. Attach the ends of the cables to the toggle switch pins using solder and a soldering iron.
Install the toggle switch onto the dash, and fasten the toggle switch locking nut using a ratchet and socket. Then reinstall the fuse and reconnect the battery.