There are a variety of designs for CV joints and axles; however, many of the basic components are much the same. If at any point during the replacement process you find that you are in over your head, you should consult a mechanic or a repair guide for your specific year, model and make of vehicle. Fortunately though, Other than a torque wrench, tie-end-rod puller and a floor jack, no specialty tools are needed that a do-it-yourself mechanic should not already have.
Raise your car using a floor jack placed underneath the middle of your engine. Place chop blocks behind the rear wheels and check to make sure that all of the legs of the jack stands are resting on the ground. Put the parking brake on as added security while you are working on the vehicle.
Use a tire iron to remove the front wheels. Place the lug nuts in the tire wells so that they are not lost.
Remove the calipers from the rotors using a torque wrench and hang them from the coil and spring assembly using wired coat-hangers.
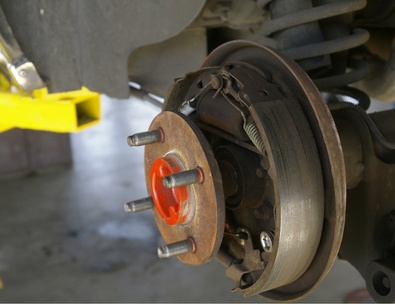
Use a torque wrench to loosen the hub nut on your rotor. Wedge a pry bar or tire iron between the ground and two of the wheel studs if the hub not is spinning the rotor while trying to remove it.
Remove the cotter pin from the steering assembly and unbolt the steering knuckle by using a tie-rod-end puller. Pivot the steering knuckle so that it is not in the way of the drive axle.
Pry the CV joint axle out from its hub. Different model vehicles may have two separate CV joint axles on each side of the vehicle, individualized inner and outer CV joints, while other models have a contiguous CV axle. Many of the CV joints simply snap in and out of place from a socket, while others may require extra un-screwing of bolts.
Reverse the previous steps in order to install the new CV joint, which should snap into place. Remember to tighten the hub nut adequately. It is preferable to check a repair manual for the correct torque on the hub nut, although it will still work if you make sure that it is tight using a torque wrench.