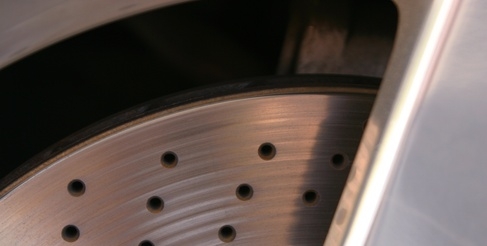
When the brakes are applied in a 2004 Chevrolet Silverado, brake pads are forced against cast-iron brake rotors and the friction this creates slows the vehicle to a stop. Over time, the extreme friction and heat wears away the brake pad material and you may notice the brakes becoming gradually weaker. When this happens, it's time to replace the brake pads. This is a straightforward task you can perform yourself, saving the expense of a trip to the auto-repair shop.
Loosen the lug nuts while the wheel is on the ground. Chock the opposite wheels. Raise the Silverado with a jack, then slowly lower it onto jack stands. Remove the lug nuts and the wheel.
Spray the entire brake assembly with brake parts cleaner to remove the dust and dirt. Place a shallow container below the assembly to catch the residue. Do not breathe the brake dust in; it contains materials hazardous to health.
Remove the caliper retaining bolts from the inside of the caliper with a socket wrench; one bolt is at the top and one at the bottom.
Lift the caliper off the mounting bracket and over the rotor. Suspend the caliper from the frame of the Silverado with a piece of wire or bungee cord to prevent stress to the rubber brake hose.
Slide the old inner and outer brake pads out of the caliper. Position a brake caliper tool onto the caliper piston and turn the handle clockwise to retract the piston into the caliper. Back the handle off and remove the tool when the piston is fully retracted.
Slide the new brake pads into the caliper. Remove the caliper from the wire or bungee cord and position the caliper back over the rotor and onto the mounting bracket. Install the retaining bolts and tighten them with a torque wrench to 80 foot-pounds on the front brakes, or 31 foot-pounds on the rear.
Replace the wheel and tighten the lug nuts evenly to 140 foot-pounds with a torque wrench. Move on to the next wheel -- never replace the brakes on only one wheel; you must replace both front or both rear brakes at the same time. Lower the vehicle to the ground and check the lug nut torque setting again.