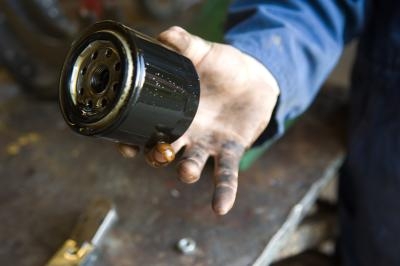
One of the most important maintenance chores you can do to keep your 2010 Toyota Corolla in great shape is replacing the oil filter. The oil filter prevents debris and other contaminants from getting into the engine. A good way to keep track of when it is time to replace your Corolla's oil filter is to change it at the same time you change the vehicle's oil. It is recommended that you change your oil every 3,000 to 5,000 miles.
Open the hood of your Toyota Corolla. Locate and remove the oil filler cap.
Use a jack to raise the Corolla. Place jack stands under the front end to support the weight of the vehicle. Then, remove the jack.
Position a drain pan directly under the Corolla's oil drain plug. Use your wrench to remove the drain plug. Allow all of the oil into the drain pan.
Put the oil drain plug back in place and use the wrench to tighten the plug securely. Move the drain pan over until it is positioned underneath the oil filter. The oil filter is located on the engine block on the driver's side of the vehicle.
Use an oil filter wrench to take the oil filter off the engine block. Place the oil filter upside down in the oil pan. Use a clean, dry rag to wipe off any oil or other residue from the mounting area on the engine block.
Apply a small amount of fresh, unused oil to the gasket of the replacement oil filter. Install the new oil filter in the Corolla, using the oil filter wrench to tighten it in place.
Remove the jack stands and lower the Corolla with the car jack. Refill the engine with three quarts of new oil.