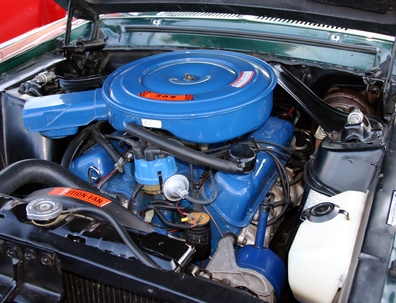
If you notice an oil leak, chances are it's coming from your Chevy's rear main seal. Your options include paying for costly repairs or doing the job yourself. If you choose the latter route, keep in mind that first you will have to remove the transmission and old seal. Chevy engines manufactured between 1956 and 1986 use a two-piece rear main seal while those made after 1986 have a one-piece seal design. The latter design is more effective at reducing leaks but also harder to service. If you go back even further, before 1956, Chevy engines used rope seals.
Disconnect the negative battery terminal by loosening the retaining bolt holding the terminal cable in place with a wrench then detaching the cable itself.
Apply a light coat of oil to the rear main seal lip before pressing the seal into its seat between the engine block and rear main cap. Apply a coat of RTV sealant to the surface of the seal, especially to the points that come in contact with the crankshaft.
Use a seal driver to press a one-piece seal into place. If you're installing a rope seal, you will need to use a seal installation tool designed specifically for that job. You may also have to tap it several times with a rubber mallet to secure the seal in place.
Verify that the lip is facing the crankshaft to prevent oil from seeping past the seal. Reinstall the transmission and reconnect the battery terminal.