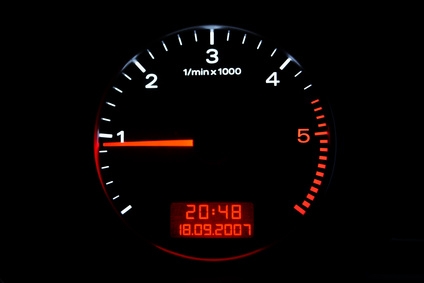
Tachometers are used to determine rotational speed of an engine. Also called RPM gauges, tachometers are commonly placed in sports cars, large trucks, airplanes and boats. SunPro tachometers are considered some of the best in the industry, with the SunPro product line offering a wide range of tachometers for many vehicle makes and models. Installing a tachometer is a pretty straightforward process. All that is required is to find a place to mount the unit, connect four wires, and the tachometer should work like a charm.
Determine where the tachometer is to be mounted. Select a place that is allows for easy viewing and is out of the way, so as not to interfere with normal driving operations. Once you have determined where the tachometer will be mounted, mark the hole placements and drill appropriately-sized holes to mount the tachometer. Tighten the screws down once satisfied with placement.
Connect the green wire, which is run to the distributor of the vehicle in most older models. The green wire will provide the information to the tachometer regarding the RPMs. The wire must be run through the firewall through any pre-drilled hole. If there is not a pre-drilled hole, drill a 3/8-inch hole through the firewall and insert the grommet, which should have come with your tachometer.
Run the green wire into the negative side of the ignition coil. This terminal may also be referred to as the tach, tach test, DEC, or ECU terminal. Read the owners manual for your vehicle to find out exactly where the terminal is. For vehicles with a DIS, or distributorless ignition system, connection of the green wire will be different on each engine. Again, consult the owners manual to establish where the wire is to be run and connected.
Connect the red wire, which provides power to the tachometer. Plug the cable into an open fuse box on the underside of the dash. If there is no fuse box available the wire may be run into any wire that has access to battery voltage when the vehicle is On. Do not connect to wires that still have battery voltage when the vehicle is off. This may drain the battery.
Connect the black wire, which is the grounding wire, to any reliable ground location in the vehicle.
Splice the white wire, which provides the back light on the tachometer, into the dimmer switch. The tachometer should come with a splicer. Follow the directions provided with the tachometer to connect the white wire.
Turn the key in the ignition just far enough to provide power to the system, do not start the engine yet. The tachometer should light up, this will show that it has power and the red, white, and black wires have been attached correctly. Turn the engine over. If the green wire is attached correctly the tachometer will display the engine RPMs.