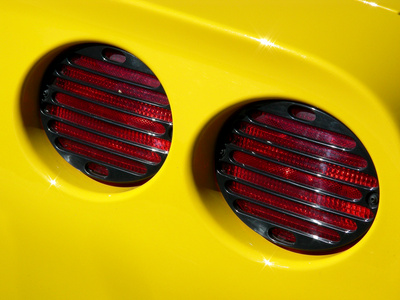
Any type of work that you can perform on your vehicle saves time and money. Taillight lenses are no exception. However, it is still a good idea to inspect the lenses on your vehicle before attempting a project like this. Taillight lenses on older model cars and trucks secured from the outside of the vehicle and the number of screws to remove depended on the size of the lens. To remove taillight lenses from newer model vehicles requires access from inside the trunk.
Open the trunk of the vehicle to gain access to the back of the taillight assemblies. Some vehicles have carpet covering the area held in place by round plastic tabs. Use a door panel tool to remove the tabs to gain access to the back of the taillight assemblies. Substitute a small nail puller for the door panel tool if needed.
Grasp the end of the taillight bulb socket(s) and twist them in a counterclockwise direction. Pull them away from the taillight assembly and lay them in the trunk of the vehicle.
Locate the screws or nuts securing the taillight assembly to the vehicle. Hold the outside of the lens and remove the screws with a Philips head screwdriver or the nuts with a socket and ratchet. Nut size varies from 1/4 inch to 7/16 inch (6 to 11mm) depending on the make and model of the vehicle.
Clean the area around the screw heads for taillight lenses that secure from the outside of the vehicle. Some taillight lenses secure to the vehicle with Philips screws while others require a star drive screwdriver.
Back out the screws with the appropriate screwdriver. These type of taillight lenses have a rubber seal behind them. Remove the seal as well as the lens.
Hold the new seal in place and set the new lens against it. Secure the new lens with the screws removed from the old lens or new screws if needed.