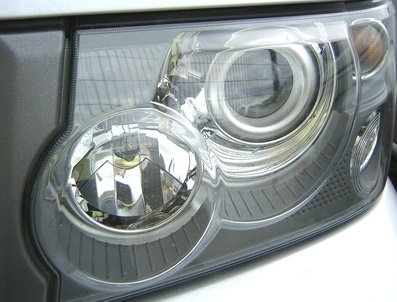
Headlights are an important safety feature on any automobile and all drivers should make sure their car or truck headlights are properly adjusted. Headlights that are misaligned can lead to poor night time visibility for the driver, and to dangerous glare for oncoming traffic. Improperly adjusted headlights can also lead to expensive traffic tickets. Adjusting the headlights on most vehicles is a simple task that entails nothing more than taking some basic measurements and turning a few screws.
Drive the vehicle to a large wall and park with the bumper one foot from the wall. Make sure the ground is level and there is 25 feet of room to back up. The vehicle should be loaded with the approximate amount of weight the car typically carries.
Measure from the ground to the center point of each headlight lens. Then take two six-inch pieces of tape and tape a cross to the wall with the center point of the cross matching the center point of the headlight lens. Do the same for both headlights.
Back the vehicle 25 feet from the wall and turn on the headlights. Walk to the wall and inspect where the light beams hit the taped crosses. Both lights should land two inches below the horizontal beam of the cross. The passenger's side light should land exactly on the vertical beam, while the driver's side should be two inches to the right of the vertical beam, in the lower right quadrant of the cross.
Open the hood of the car and look behind the headlight that is misaligned. Along the top of the headlight assembly you will find an adjustment screw that controls the vertical axis of the light beam. Use a standard screw driver to adjust the screw until the light beam lands on the proper position in regard to the tape cross on the wall. Next, look along the inside edge of the headlight assembly to find the horizontal adjustment screw. Align the beam's horizontal direction by turning this screw.