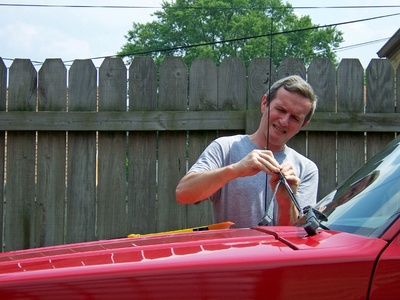
Wiper blades may need to be replaced because they have become cracked, old, contaminated, torn, or worn from scraping away tough materials such as ice and leaves. Driving with malfunctioning wiper blades can be dangerous and frustrating. To protect yourself and the safety of others, replace damaged wiper blades as soon as you notice any variation in wiper performance.
Measure both wiper blade lengths, rounding to the nearest inch. On some models, the driver's side blade is longer than the passengers side. Write down the lengths of your wiper blades, noting which length goes where. If your vehicle is equipped with a back wiper, make sure you check that for any damage by testing its effectiveness at removing water. If it is not working correctly, measure that wiper blade as well. For an accurate measurement, lift the wiper arm until is locks into its upright position. Make sure that it is locked, or it may spring back to the windshield, breaking it.
Buy the Mitsuba wiper blades that are the correct size in length. Assistance is always available in auto-supply stores, which makes finding the correct blades much faster and easier.
Lift the windshield arm carefully, as they are fragile, and maneuver the release mechanism until it releases the blade. The release mechanism is located near the joint where the blade meets the arm and often looks like a flat plastic tab. Depending on the make and model of your vehicle, you may have to push, squeeze or jiggle the release. Remove the wiper blades using your hands.
Insert the new Mitsuba blades the same way that you released the old ones. Simply maneuver the release mechanism until it accepts the new blade. Make sure that you place the correct blade on the driver's side if it is longer.