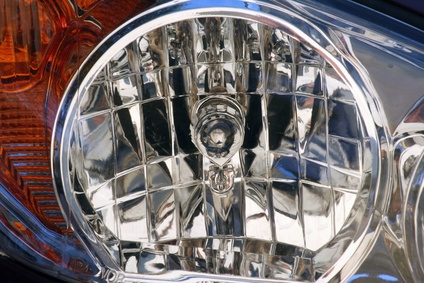
The Ford Explorer, a midsize SUV manufactured by the Ford Motor Company since 1990, is a popular choice of automobile among consumers looking for the utility of a truck and the passenger capacity of a large sedan. Many people appreciate SUVs for the sense of safety they provide, but they fail to realize that the smallest of safety features, if left unchecked, could lead to accidents. Headlights, for instance, can become misaligned for any number of reasons. Luckily, correcting a misaligned headlight on an Explorer is fairly simple. The 1998 Explorer headlights are adjusted the same way as any second-generation (1995 to 2001) Explorer's headlights are adjusted.
Park your Ford Explorer on a flat and level surface about 1 foot from a wall or a garage door. You will have to back the Explorer 25 feet to check the headlight adjustment, so be sure to work in an area where you can do so.
Pack the Explorer with the same stuff that you would normally carry so the load weight will be accurate. Load the trunk, fill the tank halfway with gas and ask a partner to sit in the driver's seat. The amount of weight in the truck will affect the angle of the headlight beams
Turn the Explorer's lights on and mark a line on the wall with the masking tape. The line should run horizontally from the center point of the driver's side light to the center of the passenger's side light. Then take two 6-inch pieces of tape and mark the vertical center of each headlight. this will create to crosses in front of each light.
Measure 25 feet from the back of the Explorer. Back up so the rear of the Explorer is at the point you measured. Keep the headlights on. Note how the light beams hit the wall to determine what adjustments need to be made. The center of the driver-side headlight beam should fall 2 inches below the horizontal line and 2 inches to the right of the vertical mark. This allows for good road illumination without blinding opposing traffic. The passenger-side headlight beam should fall 2 inches below the horizontal line and directly on the vertical mark.
Locate the adjustment screws under the hood at the headlight assembly. The horizontal screw will be on top and the vertical on the side. Use a standard screwdriver to adjust each headlight until it hits the optimal position. Be sure to do this with the lights on so that you do not over-adjust. A very slight movement on the screw will make a substantial difference in the beam aim.