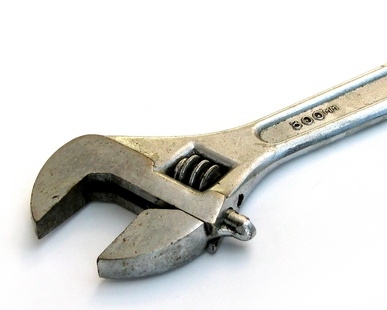
A tow bar is mounted on the chassis of a vehicle to tow a second vehicle or trailer. There are a wide variety of tow bars, but generally a ball-and-socket connection allows the towing vehicle and trailer to safely move independently. Avoid garage fees by installing your own tow bar--all you need are the right tools and rudimentary mechanical skills.
Refer to your driver's manual. It will detail the type of tow bar required for your vehicle and what it is capable of towing, and it will often provide basic mounting instructions.
Identify the mounting points. Depending on the make and model of your vehicle, this task could be straightforward or a little more complex. In some older cars, you may need to remove some of the boot trim or possibly even the side panels. Again, your driver's manual should detail the location of the mounting points. Vehicles made after September 1998 have to have tow bar mounting holes on the chassis--making this process much simpler.
Mount the tow bar. Hold your tow bar parallel to the rear bumper; you may need a friend to assist you. Thread the supplied bolts through the mounting points on the tow bar and vehicle chassis. If your tow bar features a chain fastening system, thread the chain through the mounting holes and re-insert into the tow bar. Use your wrench to fasten as tightly as possible.
Wire the tow bar. Attach a female-end harness on the towing vehicle to a male-end harness on the trailer or vehicle in tow. Unfortunately, it may not be this straightforward with some newer vehicles. There are two types of electrical systems used with modern vehicles. 12N systems for all standard vehicles, and 12S systems for caravans and motorm homes. Both feature 7-pin color-coded systems with the same wire to pin correlation;
Yellow wire - pin 1
Blue wire - pin 2
White wire - pin 3
Green wire - pin 4
Brown wire - pin 5
Red wire - pin 6
Black wire - pin 7
Instructions for these kits should be included with your kit purchase. If you are unsure, ask the dealer when purchasing your tow bar.