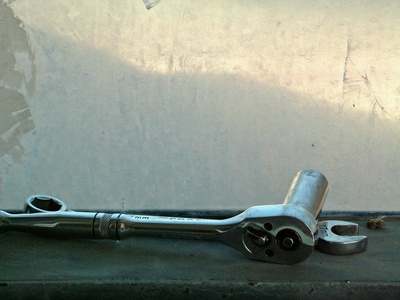
The starter motor of an engine should typically be replaced after several years of use; this is often a result of heavy driving patterns. Accessing the starter in the engine compartment on newer vehicles like the Toyota Sequoia can be time consuming. The placement of the starter is designed to protect it from damage during driving; this makes it difficult to reach.
Disconnect the negative battery cable from the battery. Use a box wrench to loosen the lock nut before pulling the cable off the terminal.
Place a bucket under the draincock on the bottom of the radiator; this is located on the driver's side of the vehicle. Open the draincock by turning it counter-clockwise with a box wrench. Allow the coolant to drain completely out of the radiator. Close the draincock when no more coolant is draining; turn it clockwise until hand tight.
Open the gas filler cap and pump the accelerator pedal several times to release the pressure in the fuel system. Leave the gas cap off during the rest of the repair.
Use a socket wrench to remove the four bolts holding the throttle body cover in place on the top of the engine block. The bolts are located at the corners of the cover. Pull the cover off and make sure to remove the cover brackets by lifting them out of place.
Disconnect and remove the air intake hose. Loosen the lock nut at the connection to the air intake manifold with a small box wrench; pull the hose off the manifold.
Remove the additional hose connections from the intake manifold by pinching together the prongs of the lock collars on each hose; this expands and opens the collar. Pull the hoses off the intake manifold.
Remove the intake manifold mounting bolts and pull the intake manifold from the engine. There are six bolts, three on each long side of the manifold.
Trace the positive wire from the battery to the starter. The starter is located on the driver's side of the engine toward the bottom of the engine block.
Remove the three mounting bolts holding the starter onto the engine block with a socket wrench. There is one bolt at the top, one at the bottom and one on the outside of the starter facing away from the engine block.
Pull the starter away from the engine block and use a box wrench to loosen the nut that connects it to the positive battery cable. Remove the wire and discard the old starter.
Lightly coat the end of the positive wire from the battery with dielectric grease; do the same for its corresponding battery terminal. Place a small daub on your finger and wipe the grease on both pieces.
Connect the positive battery cable to the starter and tighten the lock nut into place.
Hold the starter in place so the bolt holes line up with the bracket attached to the engine block; install the three bolts. Use a socket wrench to tighten the bolts enough to keep them from loosening when the car is driven.
Place the intake manifold in position on the engine block and bolt it in place. Work in a clockwise direction. Tighten each bolt a little at a time before moving onto the next one; all the bolts should be hand tight. Do not completely tighten one bolt at a time or the manifold may warp or crack.
Connect all the hoses to the intake manifold by pinching the prongs on their locking collars, sliding the hose over the connection on the manifold and releasing the collar.
Bolt the air intake hose back onto the manifold.
Refill the radiator with coolant and replace the cap on the gas tank.
Reconnect the negative cable to the negative post on the battery.