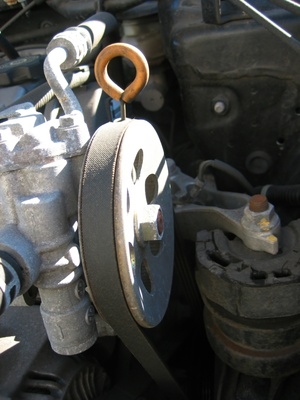
The 1999 Pontiac Bonneville uses one serpentine belt to connect all the components to run off the crankshaft. The difficult part about replacing the serpentine belt is the spacer to the engine mount is intertwined with the belt and needs to be removed. Once the spacer is removed, replacing the belt will take a couple of minutes. A belt diagram can be obtained from the owner's manual or from the engine compartment to ensure the belt fits properly for optimal performance.
Ensure the car is turned off and the keys are out of the ignition. Open the hood for access to the engine compartment.
Follow the belt to the bottom of the engine by the crankshaft pulley. The pulley intertwines through a spacer. The spacer needs to be removed.
Unbolt the spacer with a torx bit. Pull the spacer out of the way. Disconnect the wire by unsnapping the connector.
Loosen the tensioner pulley with a socket wrench. Push the tensioner down to loosen the belt.
Slide the belt off the pulleys and out of the engine compartment. Replace with the new belt. Follow the belt diagram located next to the hood latch to properly route the belt. Do not place the belt around the tensioner pulley until the routing is complete.
Push the tensioner pulley down with a socket wrench. Place the belt over the pulley and slowly release the pulley. The belt will tighten as the pulley is released. Pull the socket wrench away from the pulley.
Reconnect the wiring by the crankshaft. The wires will lock when connected. Bolt the spacer back over the belt with the torx driver.
Start the car and allow it to idle. Observe the belt as it travels the pulleys to ensure there is no slack in the line. If there is too much slack in the line, the tensioner pulley may be faulty.
Turn the car off and close the hood.