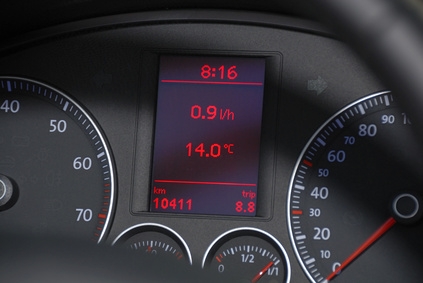
There are a number of reasons why replacing the dashboard bulbs on your Toyota Tundra may be necessary: a burned out bulb, the desire to customize the interior of the vehicle with a different colored light bulb, etc. Regardless of the reason, the process is the same: removing the dashboard trim panels and simply replacing the bulb. Prior to beginning the activity, confirm the replacement light you have purchased is the proper wattage and a single pole setup for the Toyota Tundra.
Detach the negative cable from the battery terminal.
Remove the instrument cluster trim bezel by removing the lower left finish panel screws (4 total). Pull the finish panel off and detach the hood release cable.
Remove the two cluster bezel screws just above the speedometer. Detach the bezel and pull it out of the dashboard.
Remove the control knobs from each of the dials. Remove the center cluster bezel screws; there is one screw in each of the three dials and a screw at the top of each air vent. Remove the instrument cluster retaining screws and pull the cluster out of the dash. Unplug all electrical connections from the cluster.
Locate the dash light bulb and rotate the bulb holder counterclockwise. Pull the bulb holder out of the instrument panel.
Pull straight out on the bulb to remove it from the holder. Install the new bulb directly back into the holder, being careful not to touch the bulb too much.
Continue with installation in the reverse order of removal.