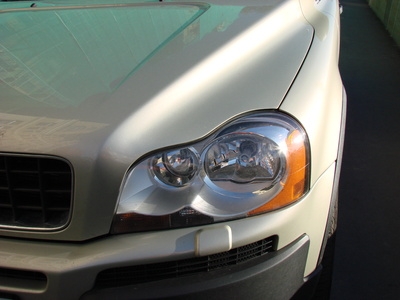
Changing a light bulb in your automobile is a straightforward and simple task. Whether it's a headlight or fog light, the process is much the same. In most cases, you just remove a plastic covering behind the light assembly, remove the old bulb and insert the new one.
Open and prop up the hood or trunk, depending on the location of the bulb. Look behind the burned out light from inside the car and locate the light assembly.
Access the light bulb. Depending on the make and model of the automobile there may be a plastic cover on the rear of the assembly. If so, use the appropriate screwdriver and remove the cover. Some automobiles also will have a back plate, which contains the light assembly wires. This will be held on with clips. Undo the clips and push the wires to the side. The bulb should now be visible.
Remove the old bulb. Turn the old bulb to the left by hand slowly. Do not break bulb, as you will need it as a model to purchase a new one from a local auto parts store. If it does break, write down the make, model and year of your automobile and ask the clerk for assistance.
Insert new bulb. Turn bulb to the right and screw it in tightly. Turn lights on to test.
Reattach the back plate and plastic cover if these are present. Close hood or trunk.