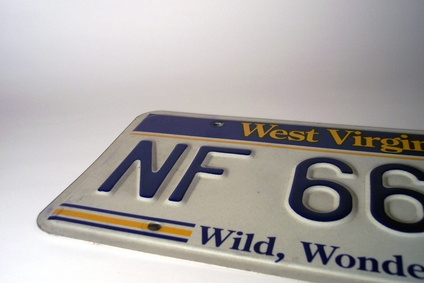
Many states require that your license plate is visible at night. For this reason, vehicles are equipped with license-plate bulbs. These bulbs are usually mounted above the plate, although in some cases they may be mounted to the side of the plate. A typical license plate bulb is a standard wedge-based bulb. A replacement is usually less than $5, but the exact bulb specification depends on your vehicle. Replacing a license-plate bulb does not require automotive expertise or skill.
Purchase a new license-plate bulb. Check your owner's manual to determine the specified bulb. You can also look up the bulb number online (see Resources). Additionally, you can contact an auto-parts store or a dealer, provide them with information on your vehicle, and find out the correct replacement bulb.
Examine the license-plate bulb lens to determine what type of tool you'll need, and then acquire the appropriate tool. In most cases, you'll need either a Phillips or a flat-head screwdriver. In other cases, you might need a wrench. Also, look at the license plate itself; determine what type of tool you'll need to remove the bolts or screws from it.
Remove the bolts or screws from the license plate. Pull the license plate off to create more working room.
Remove the bolts or screws from the license-plate bulb lens. Grasp the lens and pull it off. On the back, you'll find the license-plate bulb. Pull the bulb straight out of its socket.
Wrap the new bulb in a paper towel, or wear gloves to keep from touching the glass. Insert the replacement bulb into the socket. Place the license-plate bulb lens back into place. Tighten the screws or bolts.
Reposition the license plate. Re-attach it by tightening the bolts or screws.