A dirty fuel filter can cause extensive damage to your fuel system and, eventually, to you engine. A clean fuel filter, on the other hand, keeps your car running smoothly, with the best possible gas mileage, free of dirt and debris that is known to do cause long-term damage. A 2001 Hyundai Elantra's fuel filter should be changed approximately every 30,000 miles to prevent clogging. If the labor costs of hiring a mechanic seem overwhelming, rest assured that changing your own fuel filter is a task that requires only a few simple tools.
Take the rear seats out of your car by using the 3/8-inch ratchet and 12mm socket. Your fuel system is located under these seats, so you will want to completely remove them from your car so that they are not in the way.
Remove the panel clip on the floor of the car using a flathead screwdriver. It should easily release so that the floor board can be lifted to access the fuel system.
Unlatch the fuel system's harness. Doing this allows you to open the fuel tank access lid.
Release the pressure in your fuel system by starting your car and allowing it to run until the engine stops on its own. This step is vitally important for safety reasons; you don't want fuel spewing out at you during the removal process.
Disconnect your negative battery cable under the hood of your car. This will prevent any sparks or start-ups that could result in injury.
Press the tabs on both sides of the fuel line, simultaneously. Some fuel will escape, so be sure to keep your shop rags handy.
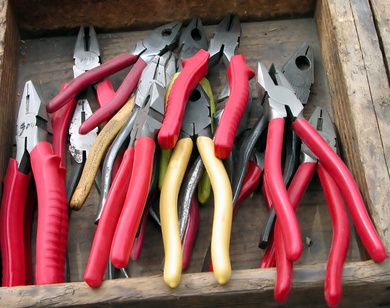
Squeeze the hose clamp on the fuel line by grabbing it firmly with the needle-nose pliers. You will then be able to gently unplug the hose from the filter.
Remove the screws connected to the fuel line. There will be eight screws. If they are difficult to remove, the ratchet and socket assembly may work better than a standard screwdriver.
Remove the assembly ring and gasket from the unit. By placing the ring and gasket with the eight screws, re-assembly will move much quicker after the new filter is in place.
Pull the entire fuel unit out of the fuel tank in an upward motion. This will probably also require a slight tilt in order to bring it around the opening of the fuel area. Again, have your shop rags handy for any fuel spillage.
Push the three clips holding the top part of the fuel unit together. This will allow for removal of the assembly lid as well as disconnection of the harness.
Remove the bracket with a screwdriver or pliers. When the bracket is off, the assembly can be pulled apart. The hose can remain attached, as it will mount onto your new filter.
Pull the two clips while removing the fuel filter. You will need the plastic washers, rings, and cap on the new fuel filter. Hyundai's new filters are not equipped with these items, but the car will not start if the unit is not re-assembled properly. Place the white washer inside the new filter first, then the black ring, followed by another white washer, and then the last black ring. Cap the original lid back on to close the unit.
Place the unit back into the brackets in the fuel assembly location. The unit should fit directly into place the way it was before the new fuel filter was installed.
Re-attach all screws, lids, compartments and seats in the opposite manner that they were removed. Be sure that everything is properly secured in place before putting the seats back onto the floor.
Turn your ignition key as an attempt to start your car in five second intervals. This will allow the fuel to re-pump through the fuel system. After several tries, your car should start and your fuel filter replacement is successful.