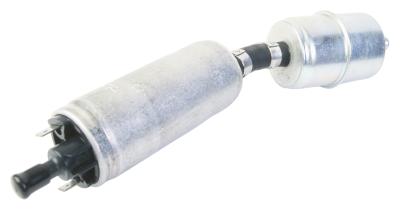
Ford Freestars are fuel-injected mini vans that rely on fuel filters to remove sediment, rust and other foreign deposits from gasoline after the fuel moves out of the gas tank towards the fuel rail. These filters clog over time, just like an engine air filter. Ford Motor Company’s scheduled maintenance guide for the Freestar recommends replacing the fuel filter every 15,000 miles. Anyone with basic automotive repair skill can perform this task in under a half hour.
Drive the front wheels of the Freestar onto the ramps. Shift it into park, shut the engine off and apply the parking brake. Place a wheel chock behind the left rear wheel.
Climb under the driver side of the Freestar, between the front and rear wheels, with the catch pan, fuel line tool and new filter.
Locate the fuel filter, which is in the fuel lines strapped to the inboard side of the frame, just below the passenger compartment. The easiest way to find the filter is to simply follow the fuel lines forward from the gas tank until you encounter the filter.
Remove the front fuel line from the fuel filter by pulling the retaining clip in the fuel line free with the fuel line tool. Repeat this on the rear line. You can use a pocket screwdriver instead of the proper tool, but beware as the clip breaks easily if the proper tool is not used.
Pull both lines off the filter by hand. Pull the old filter out of the retaining strap and slide the new filter in. Make sure the filter flow directs towards the front of the engine. You can ascertain flow direction by looking for the flow arrow on the side of the filter body. Put the old filter in the catch pan.
Connect the front and rear fuel lines to the filter and then push the retaining clips back into place.
Climb out, move the catch pan and tool aside and then move the wheel chock out from behind the rear wheel.
Turn the ignition to the run position and wait 10 seconds before cranking the engine. Drive the Freestar off the ramps.