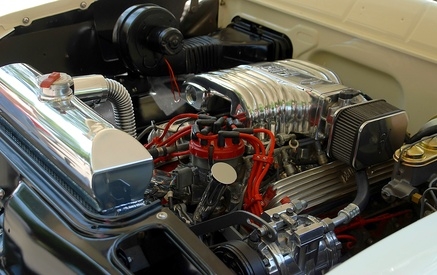
As cars get older and accrue more mileage, the idle speed of an automobile may be higher or lower than it needs to be, either wasting precious fuel or causing the car to stall out. Adjusting your idle is relatively easy, with the same basic procedure for any car. However, be sure to check the specifications for your car before doing any of your own maintenance.
Start your car and allow it to cycle through at least one period of going through a higher RPM rate. This will ensure that the engine is completely warmed up and you will be able to adjust the idle properly. It is important to allow the engine to warm up because you will be driving your car mostly at that condition. While the engine is warming, you can pop the hood of your car and prop it open.
Locate the throttle body. You can recognize it by tracing your air intake hose as it exits the air filter. The next part that the air hoses connect to is a metal part called the throttle body. Look on the sides of the throttle body until you locate a screw or a rubber casing that houses a screw. This screw is how you adjust your idle.
Remove the rubber casing for the idle switch by prying it off with a screwdriver. This casing is usually installed by manufacturers but is not needed for the performance of the idle switch. If your idle has been adjusted before, then there will be no covering over the screw.
Disconnect the idle air adjustment valve, which regulates whether the idle opens or closes depending on the air intake. Disconnect the valve by locating the electrical connector behind the throttle body. Be careful not to touch any hot engine parts while working on the idle.
Turn the idle screw, now exposed from the protective rubber coating, in order to adjust the idle. Loosen the screw in a counter-clockwise fashion to increase idle speed or tighten it in a clockwise manner in order to decrease the idle speed. Ideally, you will want the idle to rest at 650 RPM.
Reconnect the idle air controller valve electrical connection. Lower the hood and turn your car off.