The Freelander is Land Rover's entry-level crossover SUV. Unlike other Land Rover vehicles that use a traditional "truck," body-on-frame chassis, the Freelander is built on a unibody, front-wheel drive car chassis. The Freelander is sometimes known in the U.S. as the "LR2." A bad brake light bulb can be a safety hazard, particularly at night or in bad weather conditions. If your Freelander has a burnt brake light bulb, replace it immediately. The example used is specific to 2007 and newer Freelanders.
Purchase replacement bulb P21/5W, available at most auto parts stores and at any Land Rover dealer.
Turn the engine off and open the rear cargo door.
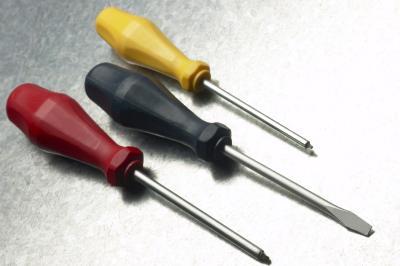
Remove the two Torx screws from the side of the tail light assembly. Carefully pull the assembly away and unplug the electrical harness.
Turn the assembly over to access the bulb modules. There are three separate bulb modules; the top module is the brake light.
Rotate the bulb module counterclockwise to release it from the tail light assembly. Push the bulb down (into the module) and turn it counterclockwise to remove it from the module.
Put on clean gloves then insert the new bulb into the bulb module. Carefully push the bulb down and turn it clockwise. Reinsert the bulb module into the tail light assembly and turn it clockwise.
Reconnect the electrical harness to the tail light assembly. Remount the tail light assembly and replace the Torx screws.