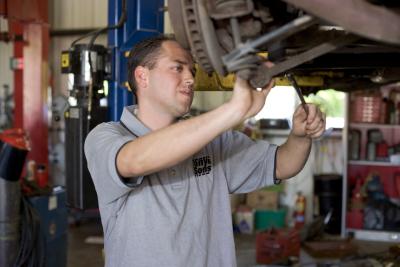
The Ford Freestar, and every other vehicle produced by The Ford Motor Company, is engineered to exceed the safety standards for stopping distance established by the National Highway Traffic Safety Administration. To ensure that those standards are maintained and the performance of the anti-locking braking system is preserved, it is recommended that the brake pads be changed at the first sign of wear. Brake pads are equipped with indicators that produce a squealing sound when pads require changing. You can have the brakes serviced by an auto mechanic or install them yourself.
Loosen the lug nuts on the wheels with the socket on the tire iron.
Lift the Freestar with the lifting jack. Place jack stands beneath the frame of the Ford. Lower the vehicle onto the jack stands leaving at least an inch clearance between the tires and the ground.
Remove the lug nuts and pull the wheels from the Freestyle.
Remove both of the caliper bolts. The bolts are located on the top and bottom of the caliper on the side of the caliper closest to the frame of the Ford. Use a 13 millimeter socket and ratchet.
Pull the brake assembly from the rotor. Place a drip pan beneath the brake.
Open the brake fluid bleed valve with the adjustable wrench. The valve is located next to the top caliper bolt. Tow full turns of the valve will open it, allowing the fluid to drip to the pan below.
Slide the brake pads from the sides of the caliper. The pads are connected by metal clips that will slide from the sides of the caliper by hand.
Open the caliper piston by squeezing it against the side of the caliper with vise-grip pliers or a C-clamp. The piston is a rubber-coated ring that extends from the inside of one of the sides of the caliper.
Slide the new pads onto the sides of the caliper.
Place the brake assembly back around the rotor. Replace the caliper bolts and tighten them with a 13 millimeter socket and ratchet. Close the brake fluid bleed valve with the adjustable wrench.
Place the wheels onto the lug nut bolts and screw the lug nuts on by hand.
Lift the vehicle with the lifting jack to remove the jack stands. Lower the Freestar to the ground.
Tighten the lug nuts with the tire iron.
Press the brake pedal repeatedly to return the expelled fluid (forced out by the opening of the caliper piston) to the caliper.