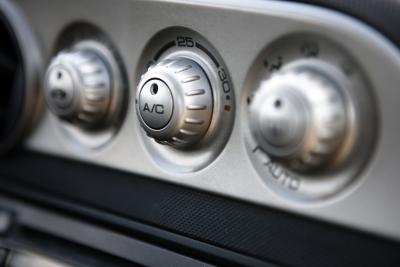
Most newer vehicles are equipped with air conditioner filters. These filters are often called "cabin air filters," "A/C filters" or "pollen air filters." No matter what the auto manufacturer calls them, they serve the same purpose: to filter air coming through your interior air vents. The process for replacing the A/C filter is the same for most vehicles; it's simple and no tools are needed.
Acquire the appropriate filter. Every vehicle uses a different size and type of A/C filter. You can purchase a replacement at any automotive parts store, or at your nearby dealer. Provide the seller with your VIN (Vehicle Identification Number) to make sure you receive the correct filter.
Determine the location of your A/C filter. Most are located inside the vehicle, behind the glove box (near the air ducts), but some are located against the firewall in the engine bay. Check your owner's manual to determine where your filter is located.
Remove the old filter. If the filter is behind the glove box, open the glove box and squeeze the sides together to release the catch; let the glove box lower completely. If the glove box is against the firewall, open the hood and remove the filter cover. Slide the old filter out.
Install the new filter. Insert the the filter according to the diagram on the filter cover. In most cases, the arrow on the filter should face down, but check the diagram near the filter to be sure (it needs to point in the same direction as the air flow).
If your diagram is illegible or missing, contact your dealer for assistance. Most will help you determine which direction the arrow should point.