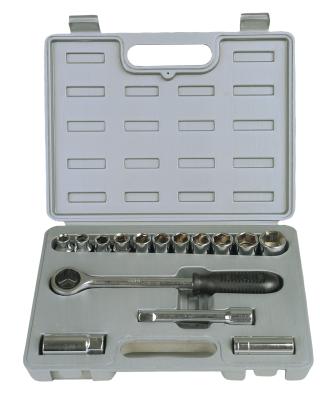
Changing the oil in a transfer case in a Ford Ranger is an easy procedure, requiring minimal effort and equipment. This procedure is done only after many miles are on the vehicle, so it is necessary to do as often as an oil change. Follow these easy steps, and you will be good to go for many more miles to come.
Position the oil drain pan under the drain plug located at the bottom of the transfer case. The transfer case is the large object between both rear axles that the drive shaft goes into.
Allow the vehicle to cool down completely before proceeding further with these steps.
Center the drain pan under the drain plug and turn your 1/2-inch drive ratchet counterclockwise to loosen it. Remove the drain plug.
Allow the oil to drain until there is just a slow drip. This will take some time as the transfer case oil is much thicker than engine oil.
Screw the drain plug by hand back into position, and using your 1/2-inch drive ratchet, turn clockwise to tighten until snug.
Remove the oil pan from under your truck and dispose of oil in the OSHA-approved container.
Using your 1/2-drive ratchet, turn counterclockwise to loosen and remove the fill plug at the rear of the transfer case.
Fill your oil-fill pitcher with transfer case oil and slowly pour into transfer case. Check the level periodically by sticking your finger into the hole. Look for a level that just touches your finger, otherwise the oil will just run out.
Once the appropriate level is reached, turn the oil plug clockwise by hand until it is secure in the fill whole. Use your 1/2-inch drive ratchet to tighten, turning clockwise until the plug is snug.